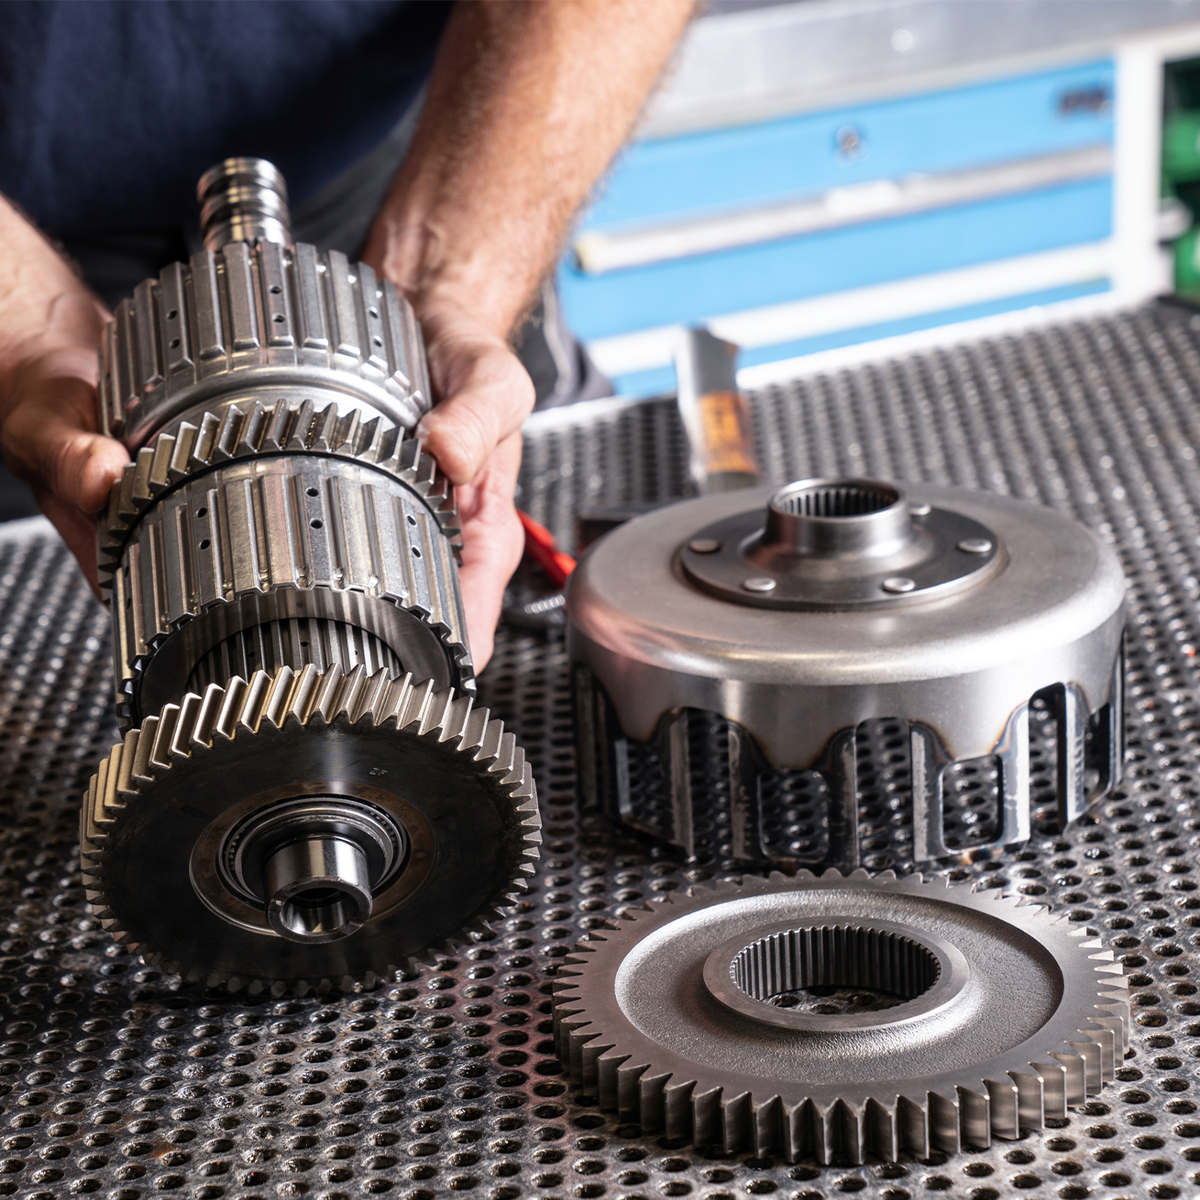
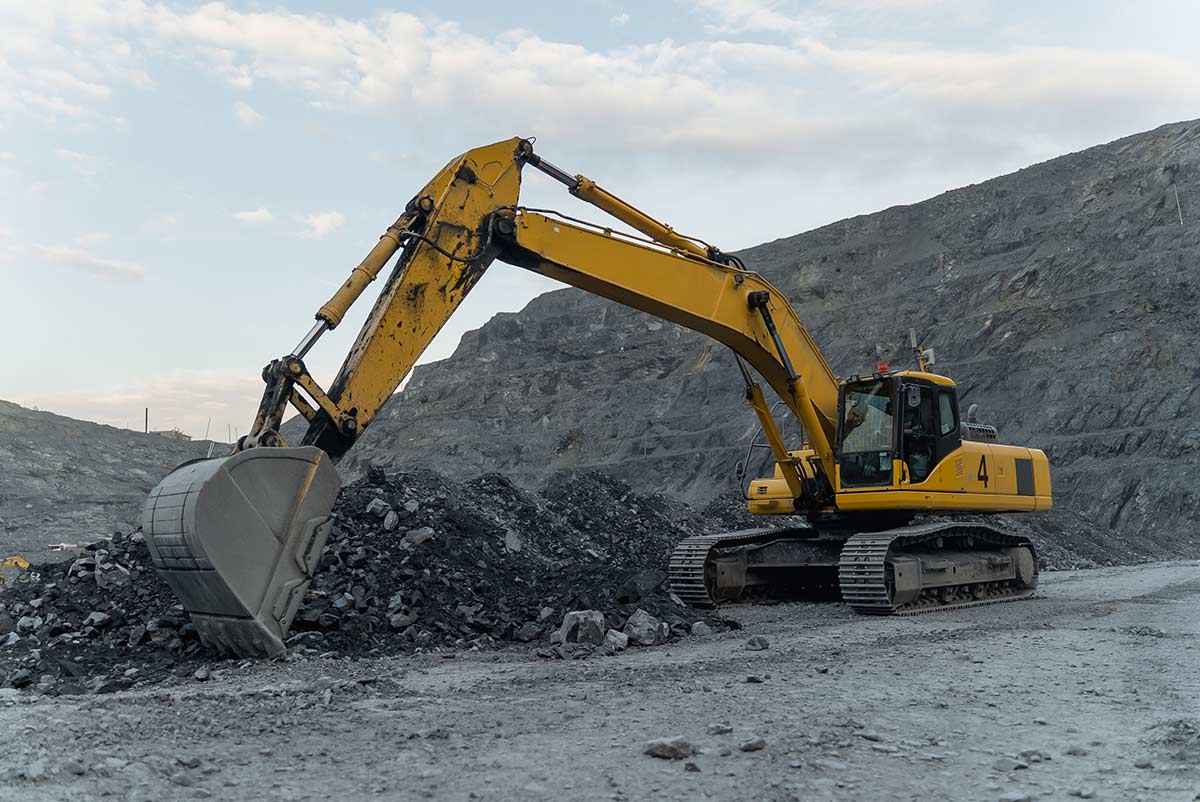
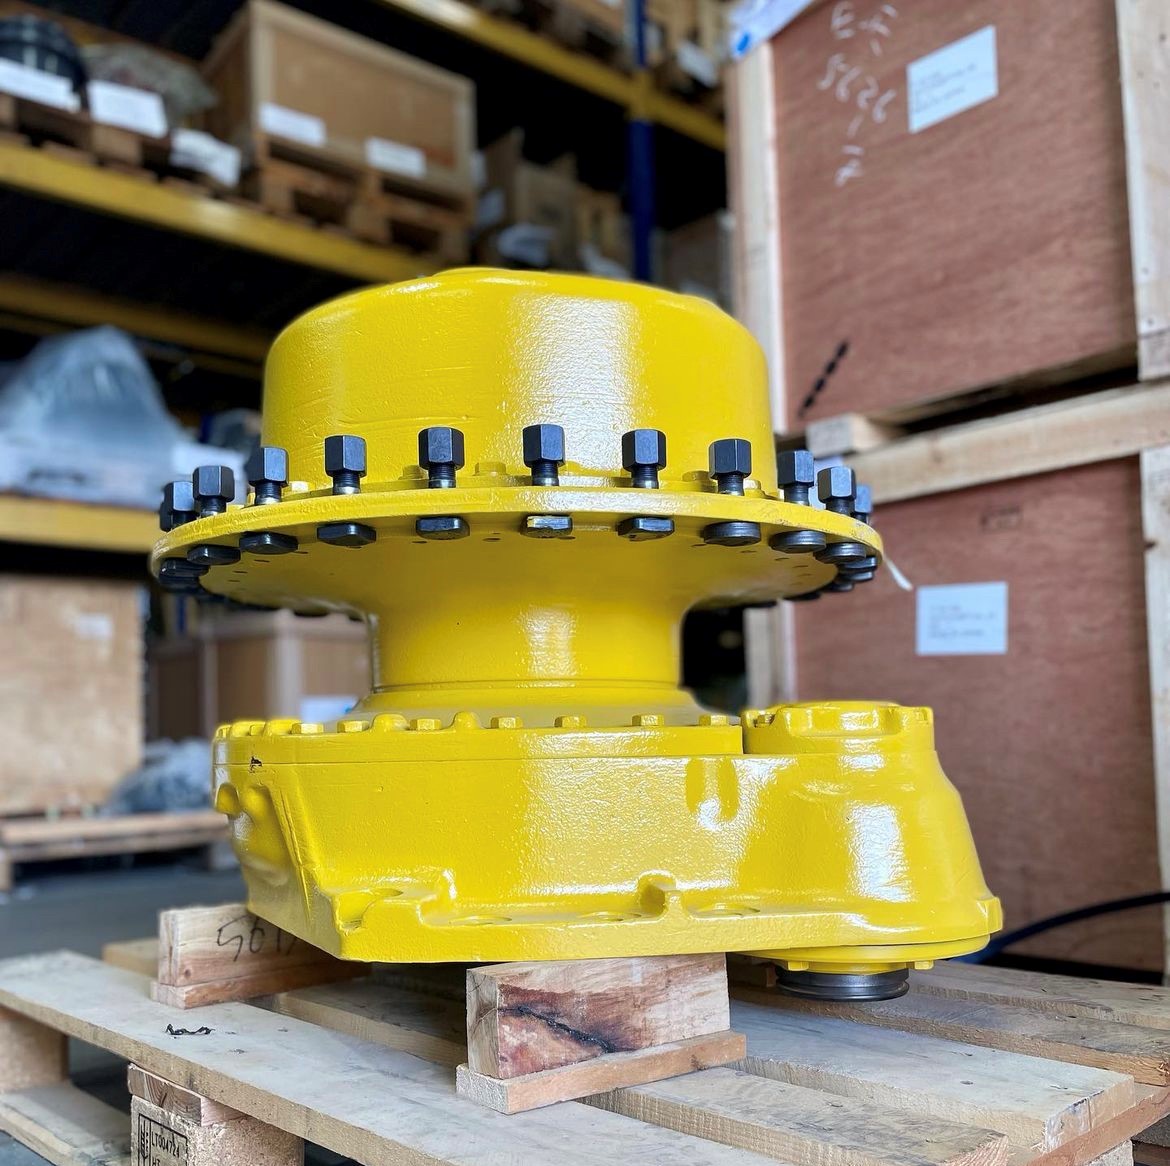
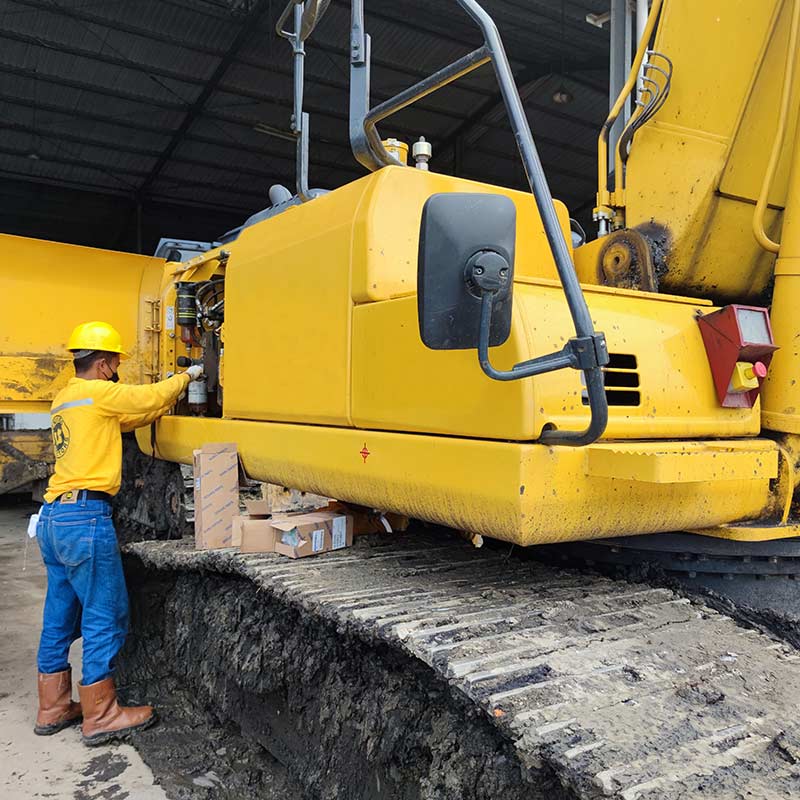
How to Change Floating Seals in Excavator Final Drive
How to change a floating seal in your Excavator Final Drive
The gearbox lid will need to be removed before starting. For instructions on how to do this, we recommend watching our video;
Step 1)

Remove top carrier thrust plate, sung gear and first stage reduction.
Step 2)

Using an allen key, remove the 4 tapered screws that secure the 2nd reduction retainer plate.
Remove the second reduction planet gears, bearings and thrusts.
Step 3)

Remove the 2 locking screws
Step 4)

At this point it will help by putting a mark on the nut and on the spindle. This will help with setting the bearing tension at reassembly.
Step 5)

Using a socket, remove the retaining nut.
Step 6)

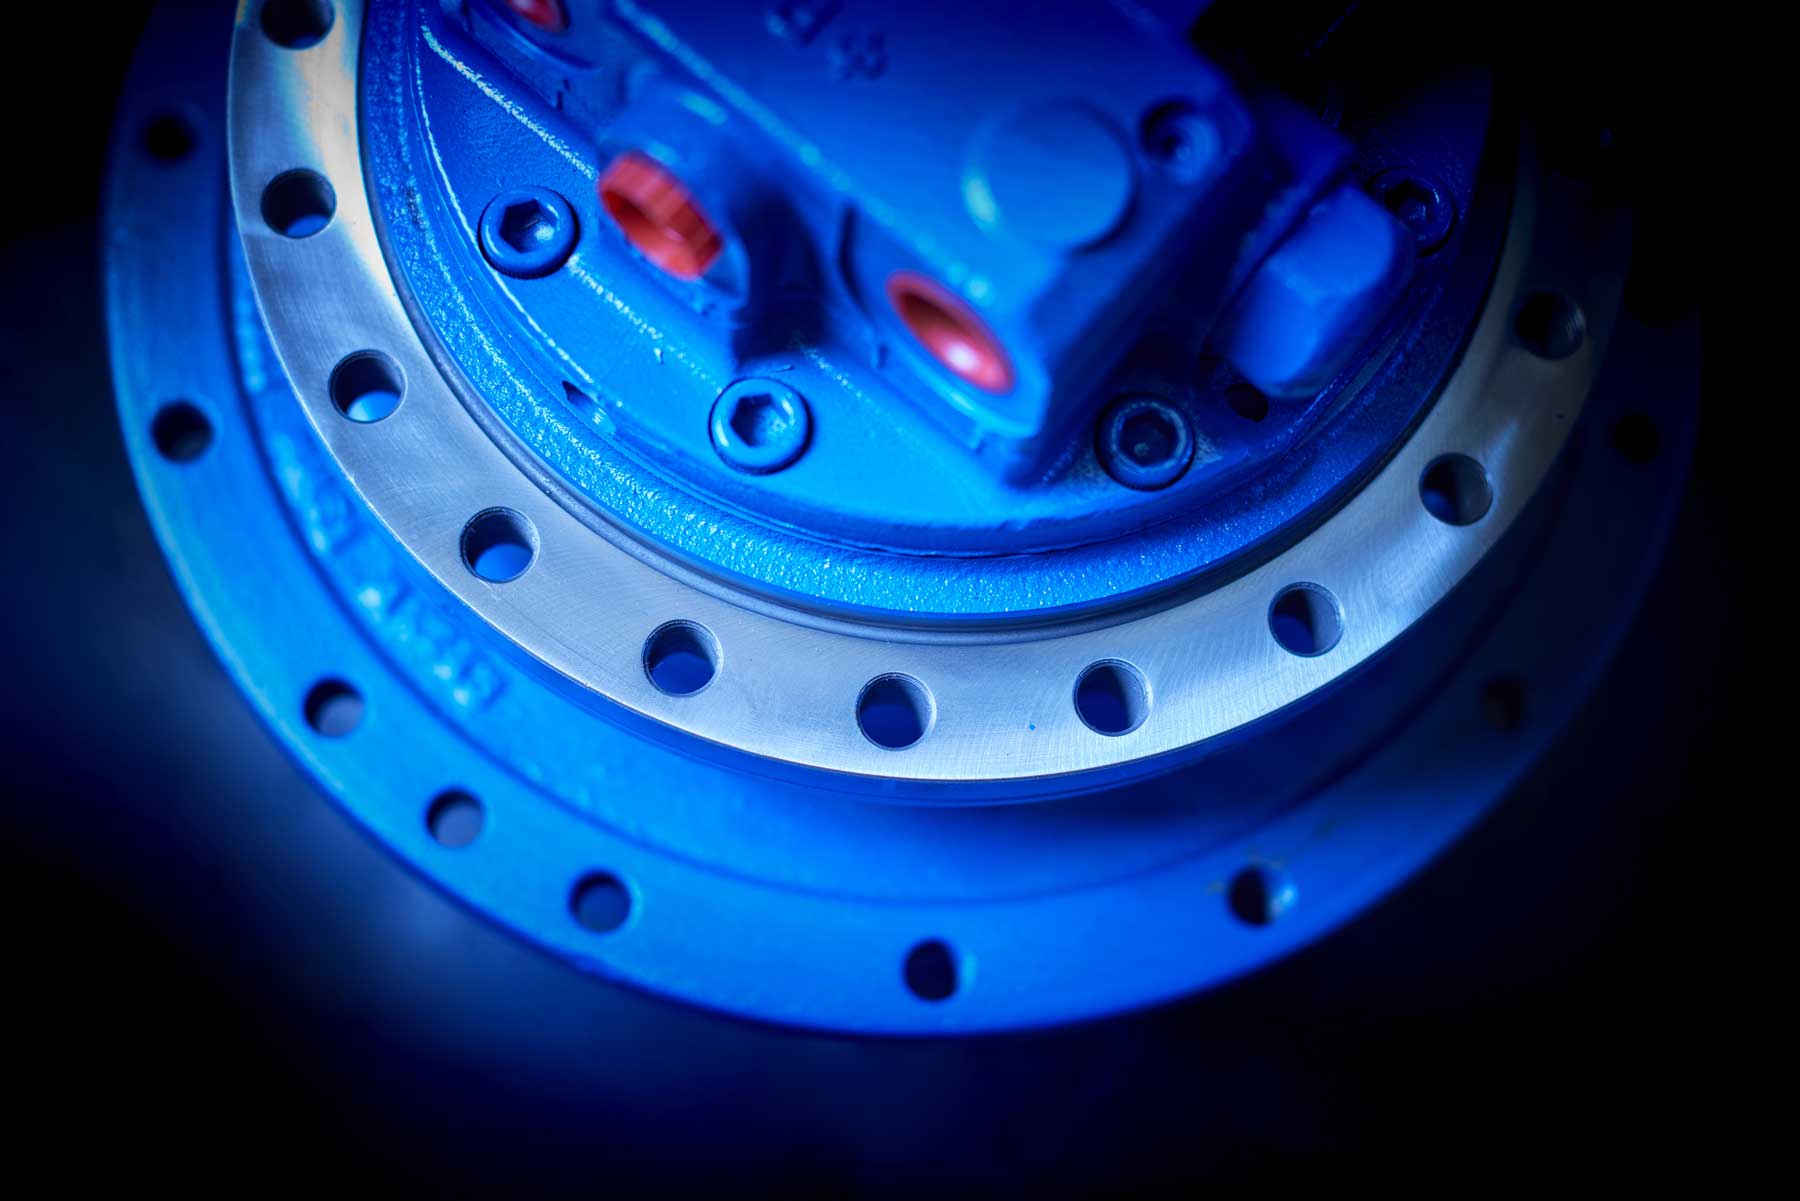
You can now remove the gearbox casing from the motor housing to expose the floating seals.
Step 7)
Using a screwdriver or appropriate tool for a bar, remove your old floating seals from both halves of the casing.
At this point it is important to thoroughly clean any debris from around the faces of both halves of the casing.
It will make it easier to refit the new seal.
Step 8)
Fitting your new floating seals
Lubricating the oring will help.

Using a tool without a sharp edge, ease the new seal just inside the lip
So the oring is even all the way round taking care not to damage the oring.
Step 9)
Set the floating seal evenly just inside the lip, don’t try and push it all the way home.
Make sure both faces of the seal are free from debris and lubricated with oil.
DO NOT USE GREASE.
Step 10)
Refit the gearbox housing.
Step 11)

Install the hub nut
Step 12)

Line up your original dot marks
Step 13)

Re-install both locking grub screws
Step 14)

Re-dot punch around the locking screws to make sure they are secure.
Step 15)

Re-install second planetary, thrust washers, inner bearing races, needle bearings and planet gears.
Step 16)

Apply a dot of lock tight down each thread.
Step 17)

And re-install the retainer plate.
Step 18)

Re-install the second sun gear, then re-install the top carrier assembly and gears.
Step 19)

Re-install the first sun gear and thrust pad.
Step 20)

Re-install the cover.
Step 21)
When installing ensure the cutout on the gearbox cover half covers the grub screw hole on the gearbox case.
Step 22)

Re-install the threaded posts so you can rotate the cover.
Step 23)
With your new lid wire, bend the first 10mm around at 90°
And hook inside the gearbox case.
Step 24)

Re-install the lid plugs.
Step 25)

Using a bar, gently rotate the lid and feed the lid wire in
Step 26)

Re-install the grub screw.
13 February 2024
Best Practices for Maintaining your Excavator Slew Ring
Large slew ring bearings used in heavy-duty machines such as excavators are prone to premature failure, particularly if proper maintenance is not performed.
4 January 2024
ZF Aftermarket Spares for Construction Machinery
We can offer ZF’s full range of Heavy Excavator parts and complete assemblies.
21 November 2023
Best Practices for Maintaining Your Excavator
Performing these preventative checks will certainly prolong the life of your excavator and save money on costly repairs.
6 November 2023
8 Things to Check Before Purchasing a Final Drive
When purchasing a final drive there are several factors to consider other than just the price
17 October 2023
Komatsu Dozer Final Drives: Common Failures
The Komatsu Dozer is a tough and reliable machine, but as with the majority of tracking machines the final drive suffers the most as they are at the very bottom of the circuit.
3 October 2023
Komatsu Service Filters: What They Do & Why They Are Important
With many Komatsu machines working in dusty environments, its no wonder that the air cleaner and filters play a vital role.
For help or more information, get in touch with our Sales Team or Workshop.
Comments are closed